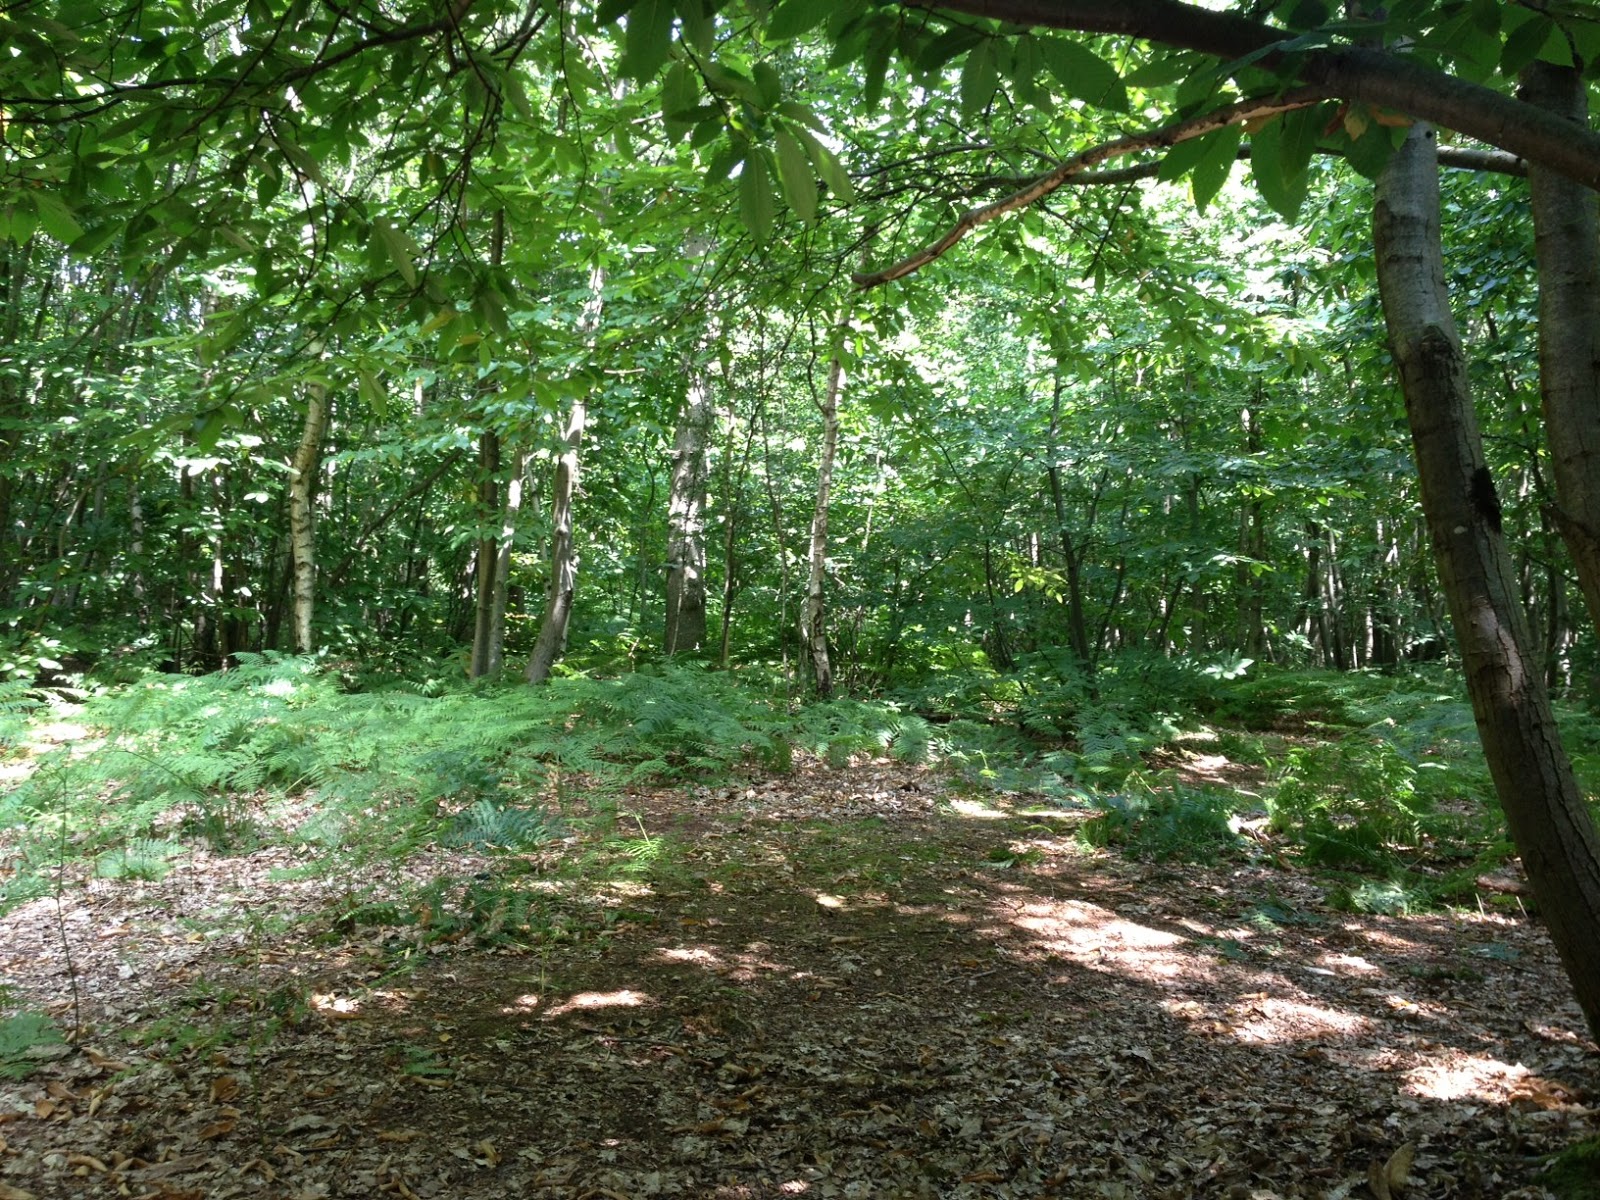
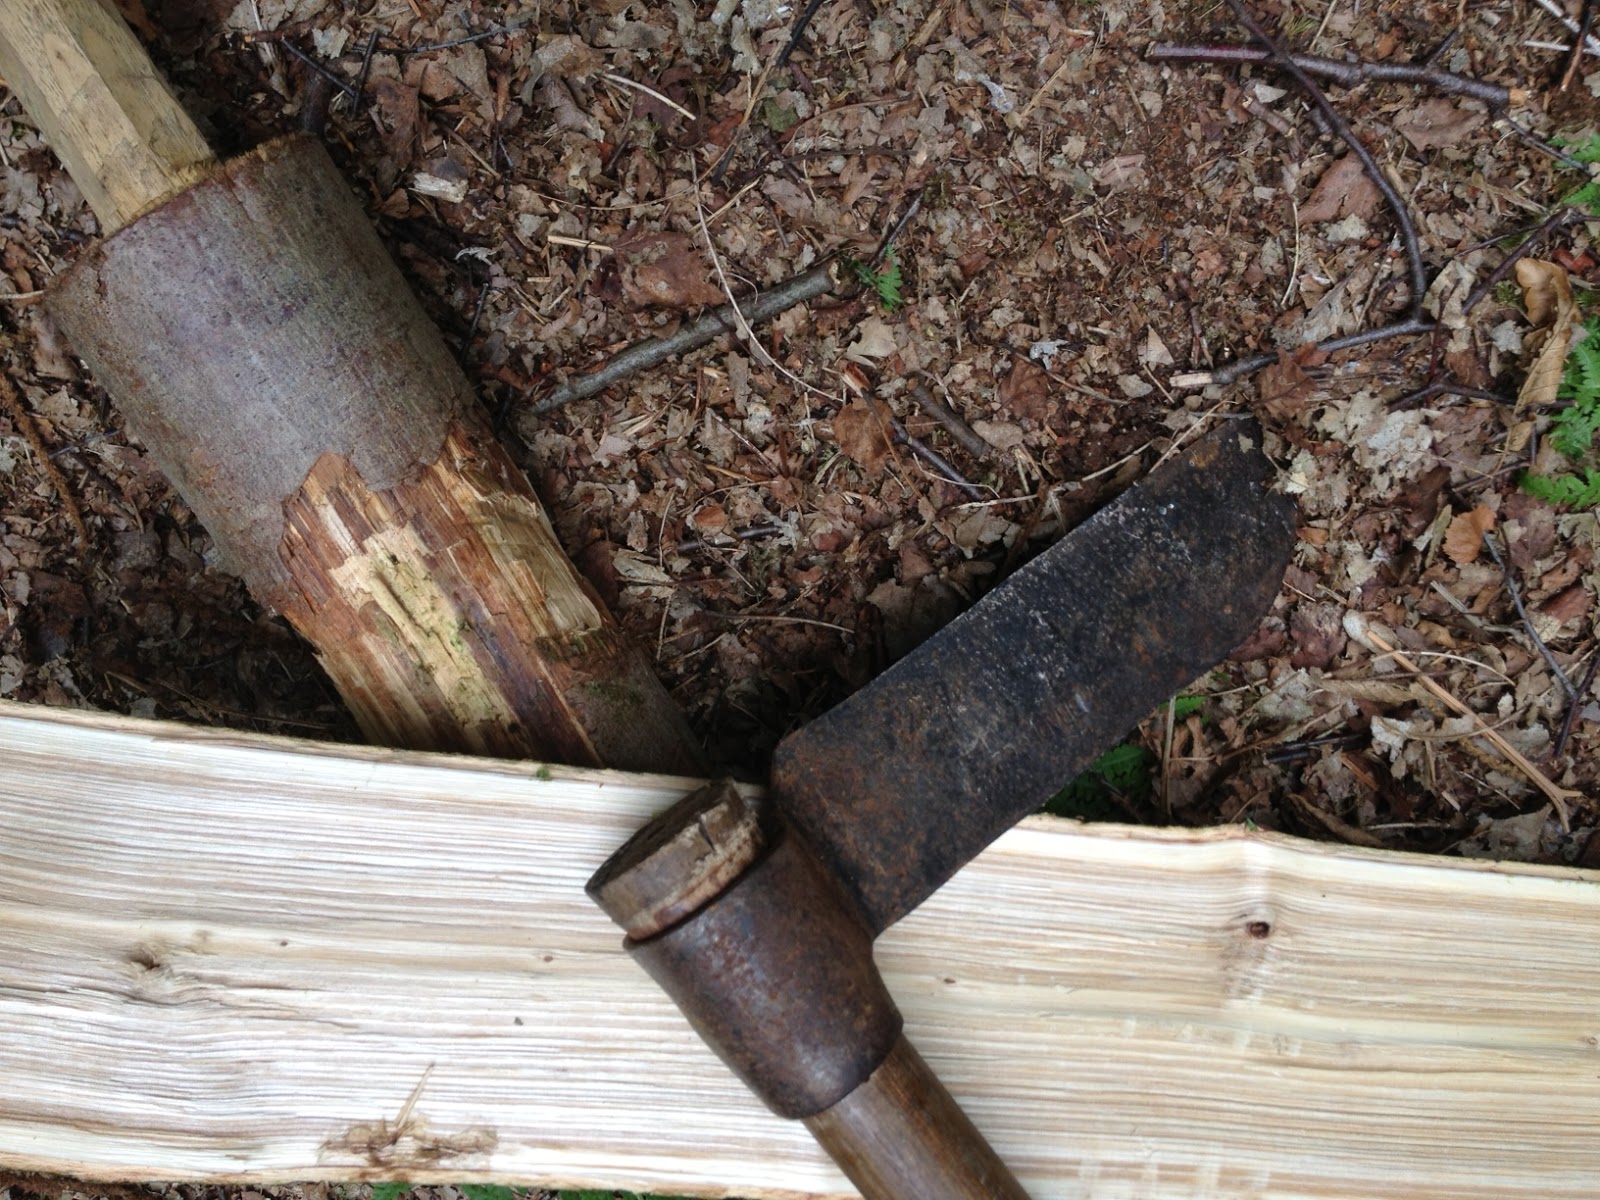
I’ve been meaning for ages to keep a diary
of our time in the wood. Same as Ive been meaning to catch up on those emails,
repair the window on the shed, replace the missing button on my jacket etc etc.
Guess its not going to happen. So instead I went though my photos by month and
put together this kind of collage. Its funny how similar the photos are in any
given month across the 15 years or so we have had the wood. Seems like we and
the trees are in sync; a rhythm that I wasn't really aware of but makes sense
in retrospect. Anyway, here it is
January
– flaming birch and burning chestnut
After Christmas I’m really keen to get back
into the wood and although it doesn't happen so very often a crisp dry day is
the loveliest way to start the year. Sunsets come early and as the sun dips the
tops of the birch light up and for a brief moment they can really seem to be
alight.

By now we have usually used up any firewood
I had carefully stacked up at home in the Autumn. Christmas sees the last of
the store up and so its off to the wood to collect some more. I try and keep a
rotation ready for use – after felling, the chestnut gets stacked in long logs
for at least two years but the birch for only one as it decays so quickly. Then
I cut to long billets, about twice the length we will use, split and stacked in
the wood for another year, covered if possible. Then it's a final cut to size
and split again if large before loading up and taking home to be stacked again
under cover. Ideally the now pretty dry logs are brought into the house for
another month or so before use. So in total at least three years drying after
felling.

My moisture meter – great wood geek present
from Heather! – suggests that when they leave the wood the logs are around
25-30%, around 20% when brought into the house and between 15% and 20% after a
few weeks indoors. Good for both the open fire and the – DEFRA approved, super
eco-friendly, please keep your hands off Sadiq! – woodburning stove.

February
– must get to the woods more often….
Seems like we don't go to the woods very
often in February. Family stuff often takes a weekend or so, and then it rains
and sometimes snows.

But that's no excuse! We have a management plan
for the wood (see xxx) developed with the help of Kent Wildlife Trust and the
Smallwoods Association, the objective of which is to increase biodiversity by
having a range of habitats. To do this we try to get an acre or so coppiced
every other year and I manage the rides, keeping the edges scalloped. Without
this the canopy closes, little light reaches the forest floor and little other
than fungi grows there. It is in winter that we can work in the woods and I try
to widen at least 50m of ride every year. It isn’t that much – but its hard
work!

March
– last chance for felling
Having failed to do as much as I had
planned, March is inevitably the month when there is a race to get as much work
done before spring means the wood leaps into life and chainsaws are banished
for another six or seven months to allow the flora and fauna time to do their
thing.

The main coppicing effort is done by Peter
Tweddell and his team. It takes three or four of them the best part of a
week to coppice, stack the poles in situ and gather the brash. Later in the
year the poles get moved up to roadside where they are collected and then
transported to his store before being kiln dried and sold as premium firewood (http://www.bertieswoodfuel.co.uk). The stack of poles from just a half acre is quite something

Meanwhile, my task is much more modest. I
try to keep the ride canopy open and scallop the edges so that there is a rich
range of ground cover from the mosses up to the saplings. This allows flowering
plants, which bring insects, that attract the birds, that nest in the young
trees and so the cycle continues


Pretty much everything gets used. The poles
are stacked for either craft or firewood, the thinner poles are used for
charcoal and the brash (tree tops) is used mostly to fire up the charcoal kilns
or is stacked as a wildlife habitat. I often see wrens and robins around the
old brash stacks, presumably after the insects that gather there. Having said
that, some of the brash gets burnt in the wood; either for warmth, cooking or
because of irresistible arsonist tendencies (that would be Heather mostly….)

Its pretty hard work but satisfying

April
– first shoots
The very first sign of spring on its way is
usually the tips of bluebells emerging and wild honeysuckle in leaf. But this
can start as early as February and I know spring is really with us when the
chestnut leaf buds start to open

Its only a matter of days before the trees
are truly in leaf. This is what the coppiced area looks like one year after it
was cut

Such a lovely time of year

and Heather emerges too!

May
– life explodes
It never fails to amaze me! After a slow
start from February through to end of April, suddenly in May everything takes
off! Wood anemones are first out of the pack

alongside primrose

violet,

wild strawberries,

bugle,

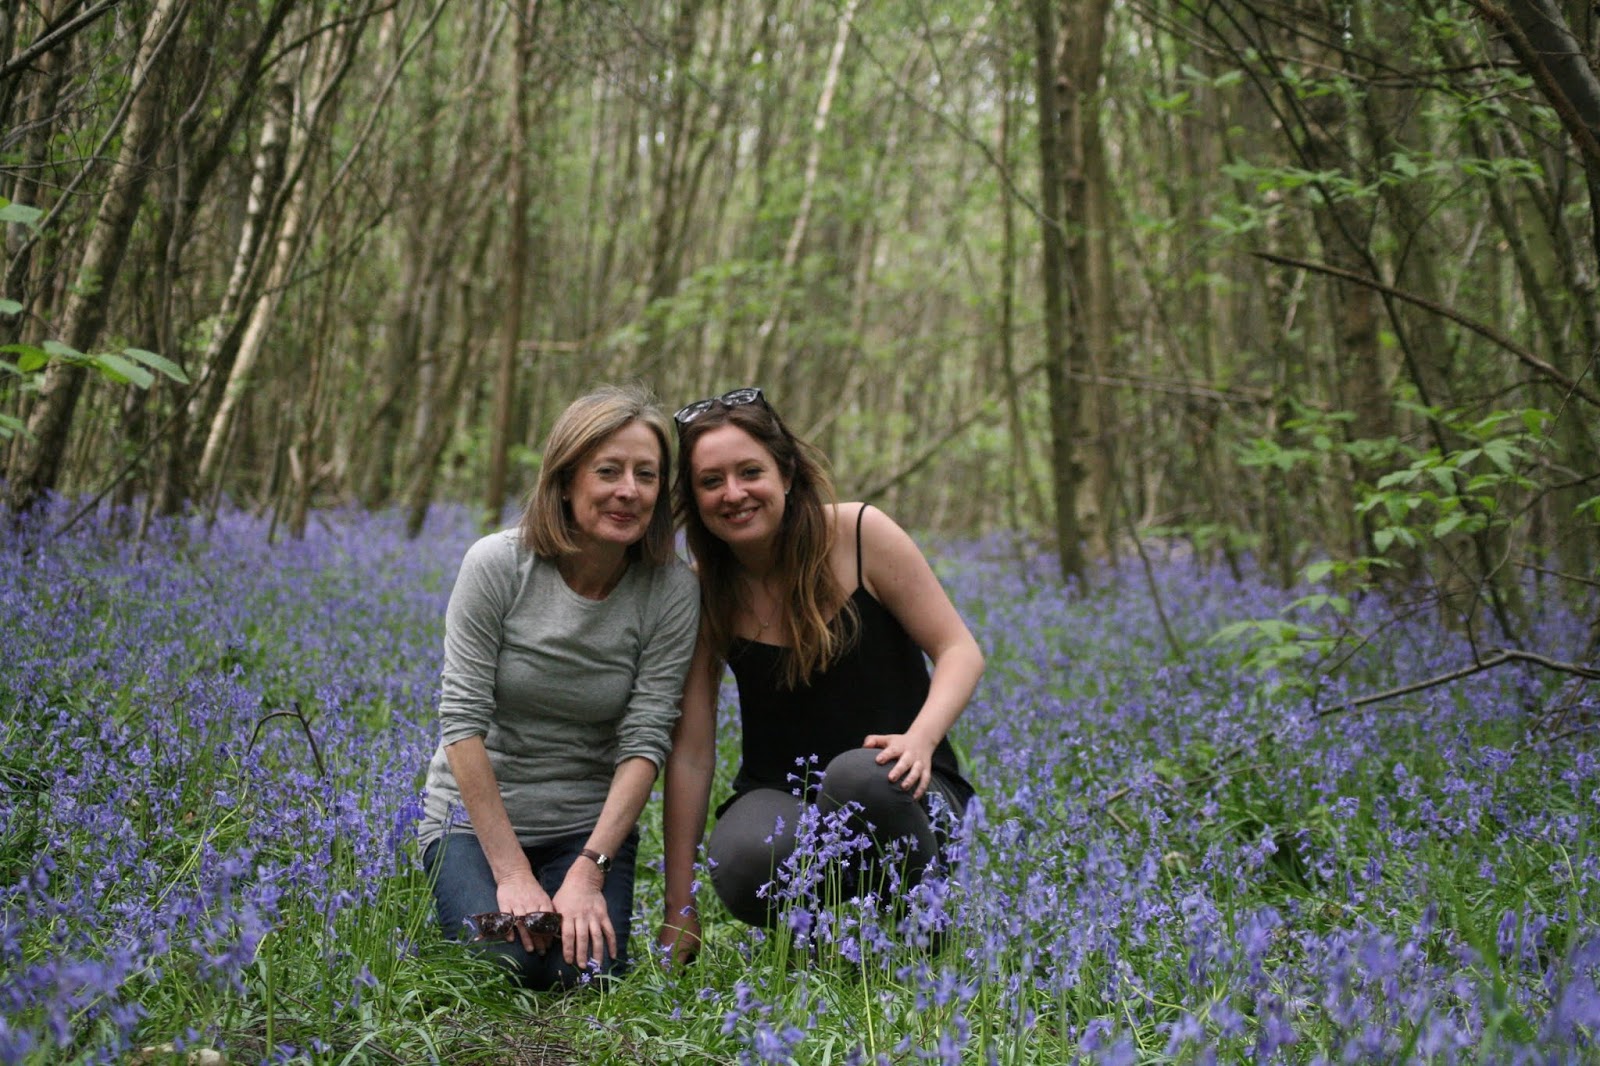
and then the bluebells


As well as the Bluebells and the Heather we also have Jasmin
And then the butterflies, here a male orange
tip, start emerging

as does the bracken

and friends!


June
– wood becomes jungle
A lovely month. The leaves are fully out
now and the canopy closes over. Underneath the trees its dark and cool and not
much grows

whereas in the areas that have been
coppiced there is an absolute proliferation of young trees, ground cover of all
sorts, bracken and bramble.

the birds are really active now, especially
in the coppiced areas. I’ve stopped all tree felling but do try and clear any
poles left lying on the ground and stack them for firewood


July -
making stuff
Over the summer when in the woods I’m
mostly making stuff. Often lots of different things in a day including
greenwood working, carving, charcoal making and smoking (food not fags). Summer
actually isn’t the best time to smoke fish. Its best when the idea weather is
crisp, dry and cold so that the smoke cools down. But here are some photos
anyway.

I fire up a small portable woodburning
stove, attach some aluminum ducting pipe and run this into a little cabinet I
made. Its all a bit Heath Robinson, but it works!

I’ve smoked fish, prawns, cheese and
chicken. Fish works best but cheese is surprisingly good and the prawns either
delicious or too salty to be edible. Need to work on that. And I wont be trying
chicken again anytime soon.

of course, it is all so much better when
you have caught the fish too. Which I sometimes do, in the nearby River Teise.
Wild brown trout get gently put back but the stocked rainbows come straight out
and into the smoker. Fabulous!

August
– colliers and candlestick makers
The nearest hamlet, with a school, is
Colliers Green. The collier referred to in this old name is almost certainly a
char-coal maker rather than coal-miner. I use a couple of steel containers,
originally for apple juice, with holes pierced in the base to burn wood that is
too small for firewood

Each 45 gallon drum reduces to about a
third in terms of volume of charcoal. Its excellent stuff – much quicker to
light than the briquettes you can buy at the petrol station and hasn't
travelled half way around the world for the BBQ


A good burn gives 4-6 bags full and I guess
I do 4-6 a year. As well as the BBQ we use it on the open fire too – it burns
super clean and very hot. Sometimes I have a helper or two with the coal-making

And sometimes not only colliers but also
candlestick makers

September
– greenwood work
I don't do this as often as I would like as
it takes time but I have made some tools that would have been more familiar in
the middle ages including a shaving horse and a pole-lathe. I’ll try and put a
video of these in use on the site.

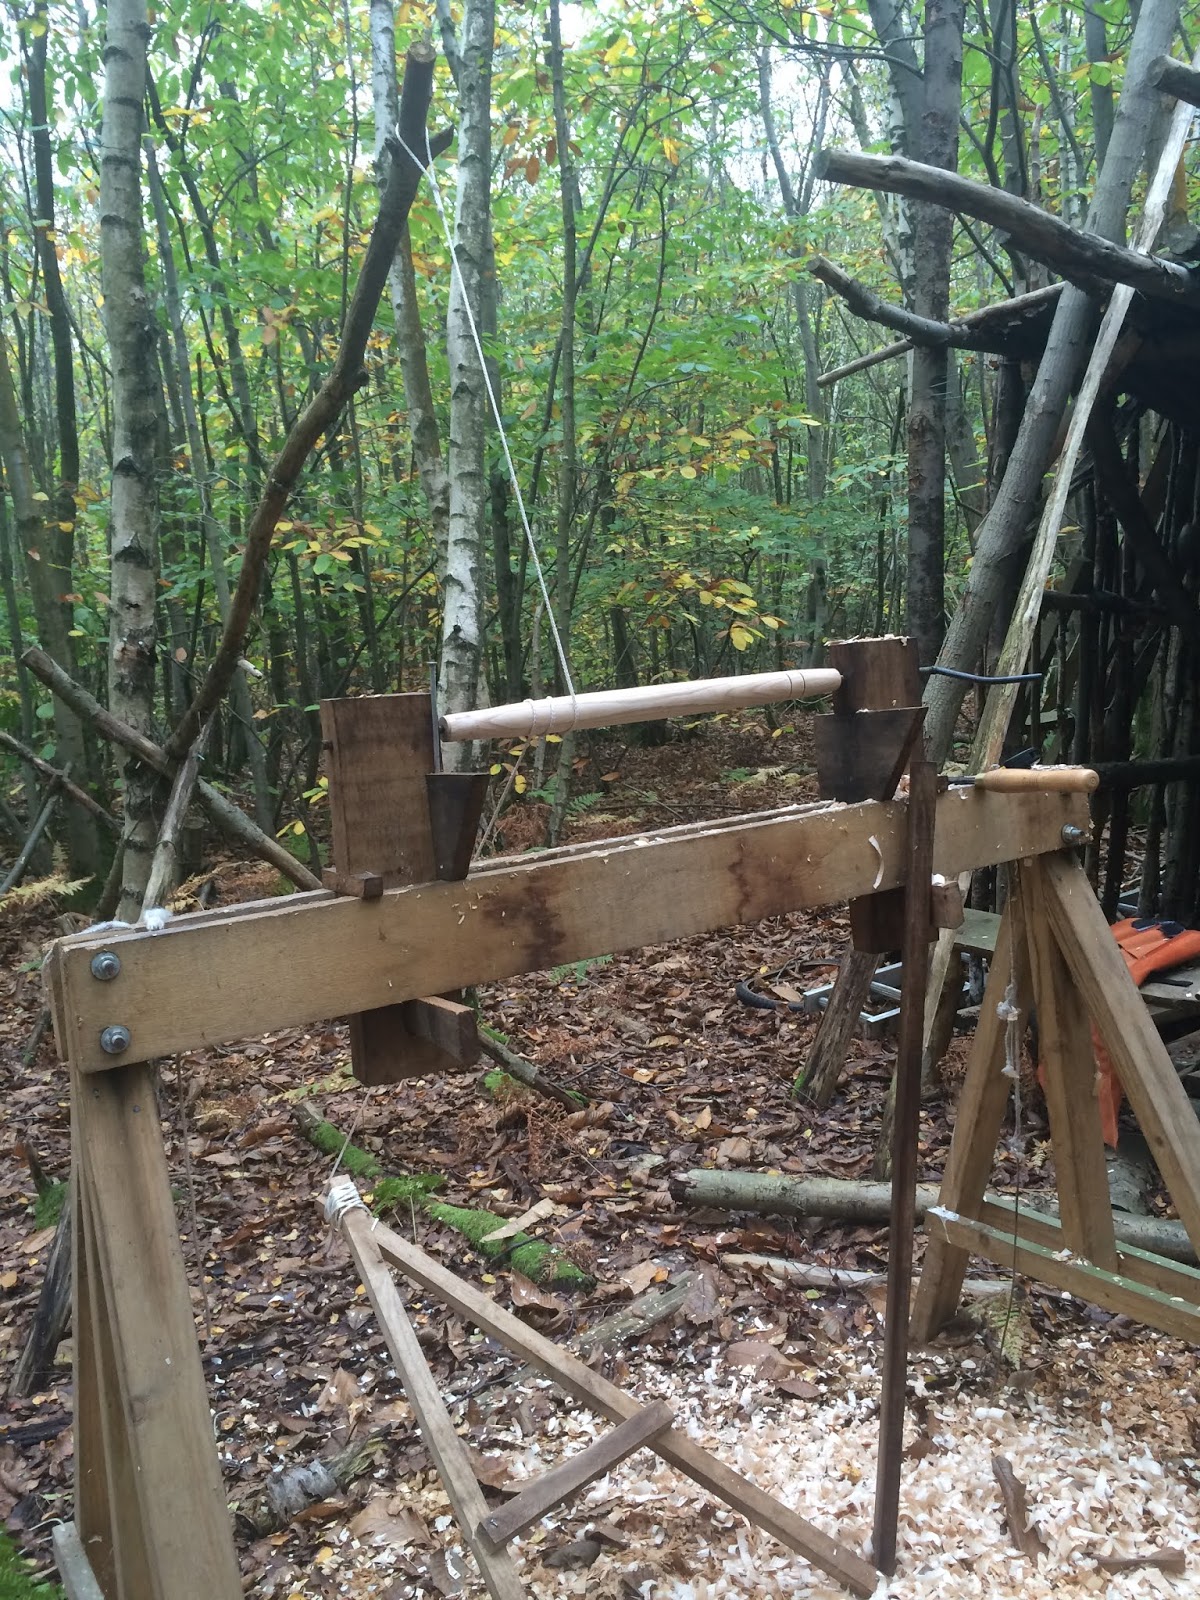
The pole lathe is used to make legs for
furniture – half of the job.

The old term for the woodworkers in the
chilterns who did this for Windsor chairs at a huge scale was bodgers. Hence
the term for a job only part completed. Anyway, I bodge away when I can and
make small table

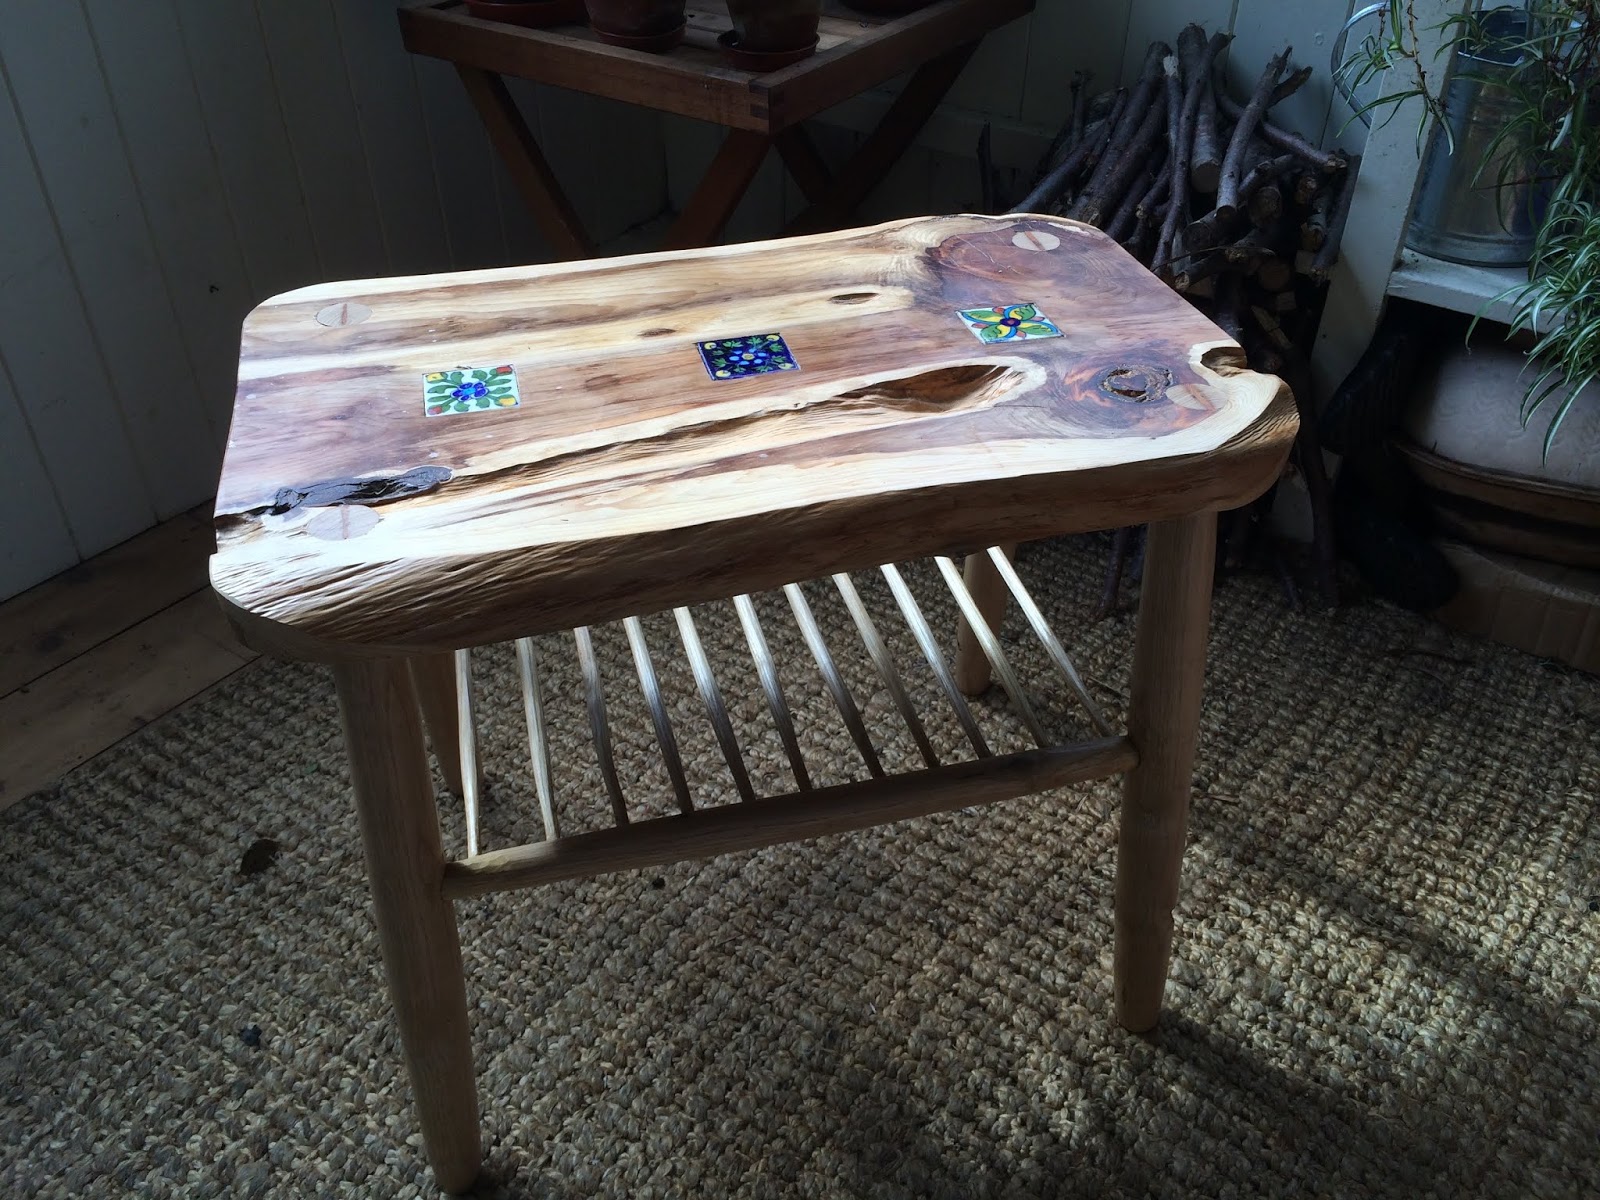

and chairs and stools


and I also have a go at carving spoons from
time to time


October
– time to eat
October brings beautiful colours

The wood fills with the gentle thump thump
of chestnuts falling. It's a bit of a pain (literally as the shells are
prickly!) collecting enough as they are much smaller than the Italian or
Spanish ones you can buy, but they are good to eat.

I roast them in the wood and we take them
home to roast on the fire or cook with sprouts and chicken or pheasant. Lovely.
To be honest though, anything eaten in the wood tastes better than it should

Everything is preparing for winter. The
squirrels and birds are eating everything and anything they can and all the
underwoods people start gearing up for more firewood collection

November - fun guy !
Old pun but… this is a more fungi

than this

But I do enjoy November and wielding the
chain saw as soon as the leaves fall. Time to re-start the wood management.
Seems odd at first to encourage biodiversity by felling trees but I think you
can see over the year that it really does work

December
– digging for gifts
We have had all sorts of fun days with
other wood owners – wood archaeology, woodland management, bird and fungi walks
and more. But one that I especially liked was when we had a local metal
detecting group in.

they found all sorts of stuff. Loads of
shotgun cartridges of course, the odd coin, some toy cars and most
interestingly some ammunition including live rounds probably from planes in the
Battle of Britain in WWII. Very sobering

I was delighted but the detectorists were
sorry not to find treasure or gifts from the past.

The last task of the year for me is to
collect some birch from the wood which I do just before Xmas to make
decorations. We really like the hanging Christmas tree but I’ve made all sorts
over the years


So that's it. A year in the wood