In August I decided to make a garden chair to
celebrate my friend Roland’s coming of age. First task was to select the tree
for the back legs as I wanted a natural curve rather than steam bending the
legs as I have done in other chairs. I also wanted to use a cleave and shave
technique rather than the pole-lathe, for no other reason than I’m enjoying
that approach at the moment and I like the slightly faceted resulting look. It
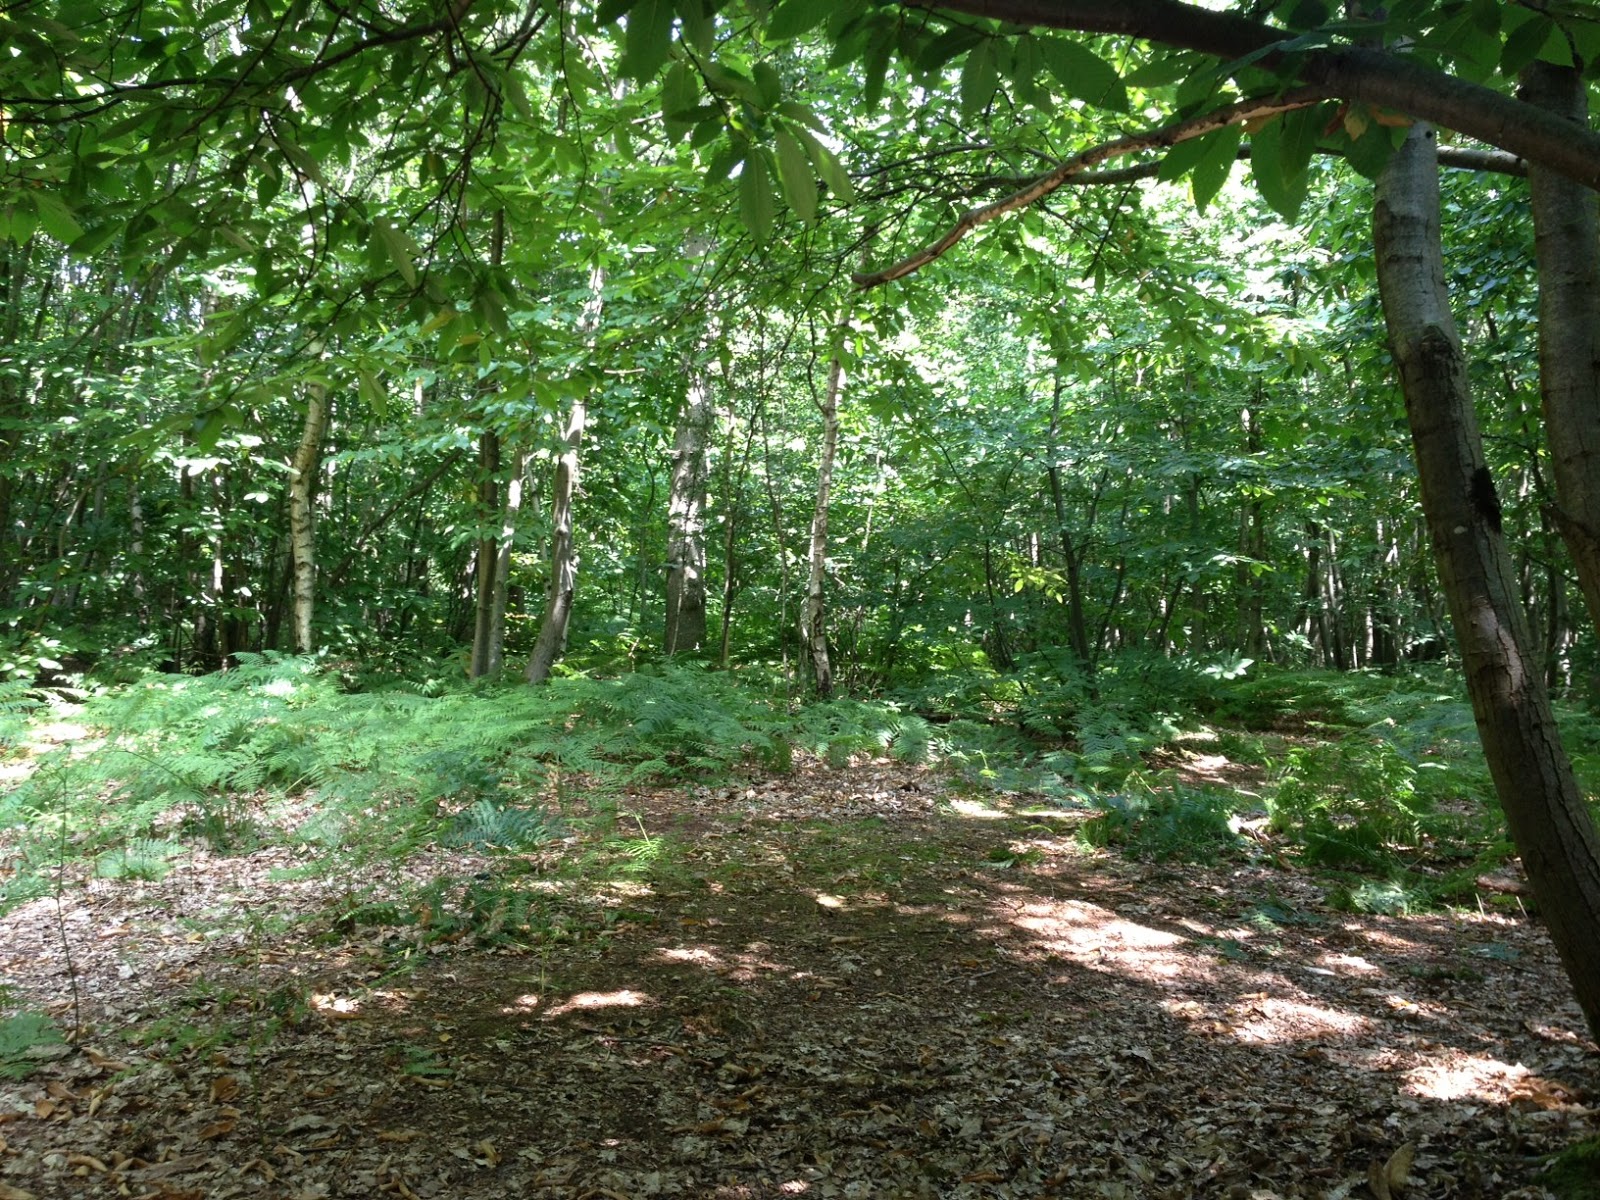
took a long time to find a tree with a stem of the right diameter and the
correct curve in two dimensions for the back legs. You can't see the tree for
the woods in this picture but its somewhere off to the left.
Having cut the pole for the legs, the rungs
were easy as they came from wood that had been felled 9 months earlier. Although
still green I hoped that this would make the rungs drier than the legs, which
is important for joint stability. The green wood shrinks more than the dry wood
and so clamps the joint in place. In the end that didn't work so well as the
wood that had been cut and laid out to dry was still very wet when sawed and so
I dried the rungs in the oven for a few hours instead. Before I got to that
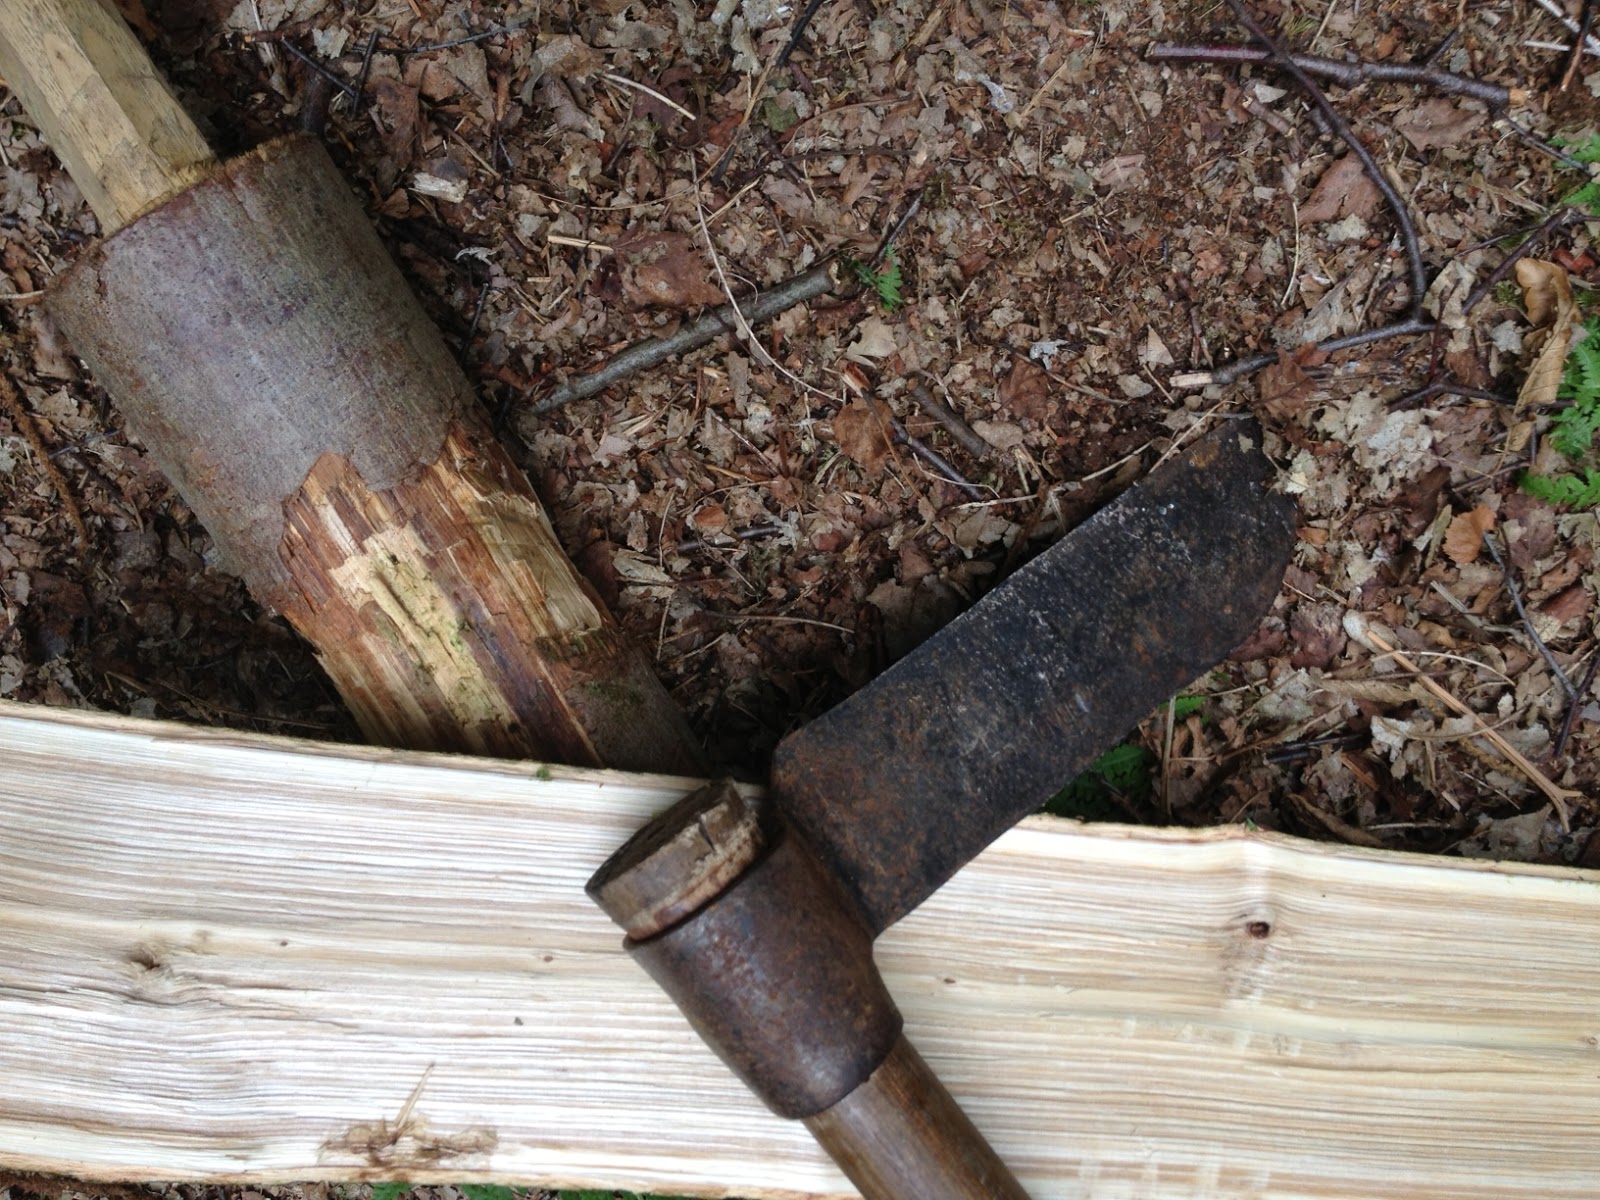
point though, the poles were split. Chestnut cleaves beautifully – the larger
poles using wedges …..

…..and the smaller poles using a froe and
mallet.
In all a chair uses a fair amount of wood and after a day of hunting the right pieces and cleaving, I had a fair old collection


Then the cleaved poles are axed to an
approximate size and then, on the shaving horse, shaved using a drawknife. Here
is my first attempt at the arms on the shaving horse at home. The arm in front has
been axed and the one behind shaved.

But I didn't like the curve in the end so
these were rejected and I started again. I went back to the wood and searched another piece with a better curve and it split very nicely

Some of the shaving was done in the wood
and some at home. It generates a fair amount of waste wood as you can see behind
the half finished chair and that lot (its only about a half of the total) should see us through much of the winter
in kindling.


And below is the completed chair; a bit wonky but it functions well enough. The back
rest spindles are newly coppiced branches, de-barked. All of the wood is chestnut
other than the wedges in the visible joint in the arms. These are made from a
bit of red cedar I had left over from a previous project as I liked the colour contrast.

Finally, as it is made from Chestnut it
should last a good while as the wood is resistant to rotting. It needs no
treatments and with time should gracefully age, becoming a faded grey colour,
with some splits appearing and with a little warping and wandering of its legs.
Same as with all of us really. Happy Birthday Roland.
No comments:
Post a Comment